
Install GenMotion Studio
Install GenMotion Studio on macOS with Apple silicon. Download the signed DMG or run the one-line installer, then connect Claude Code or Codex.
GenMotion Studio is the desktop app: your agent's chat, a frame-accurate preview, a timeline and one-click export in one window.
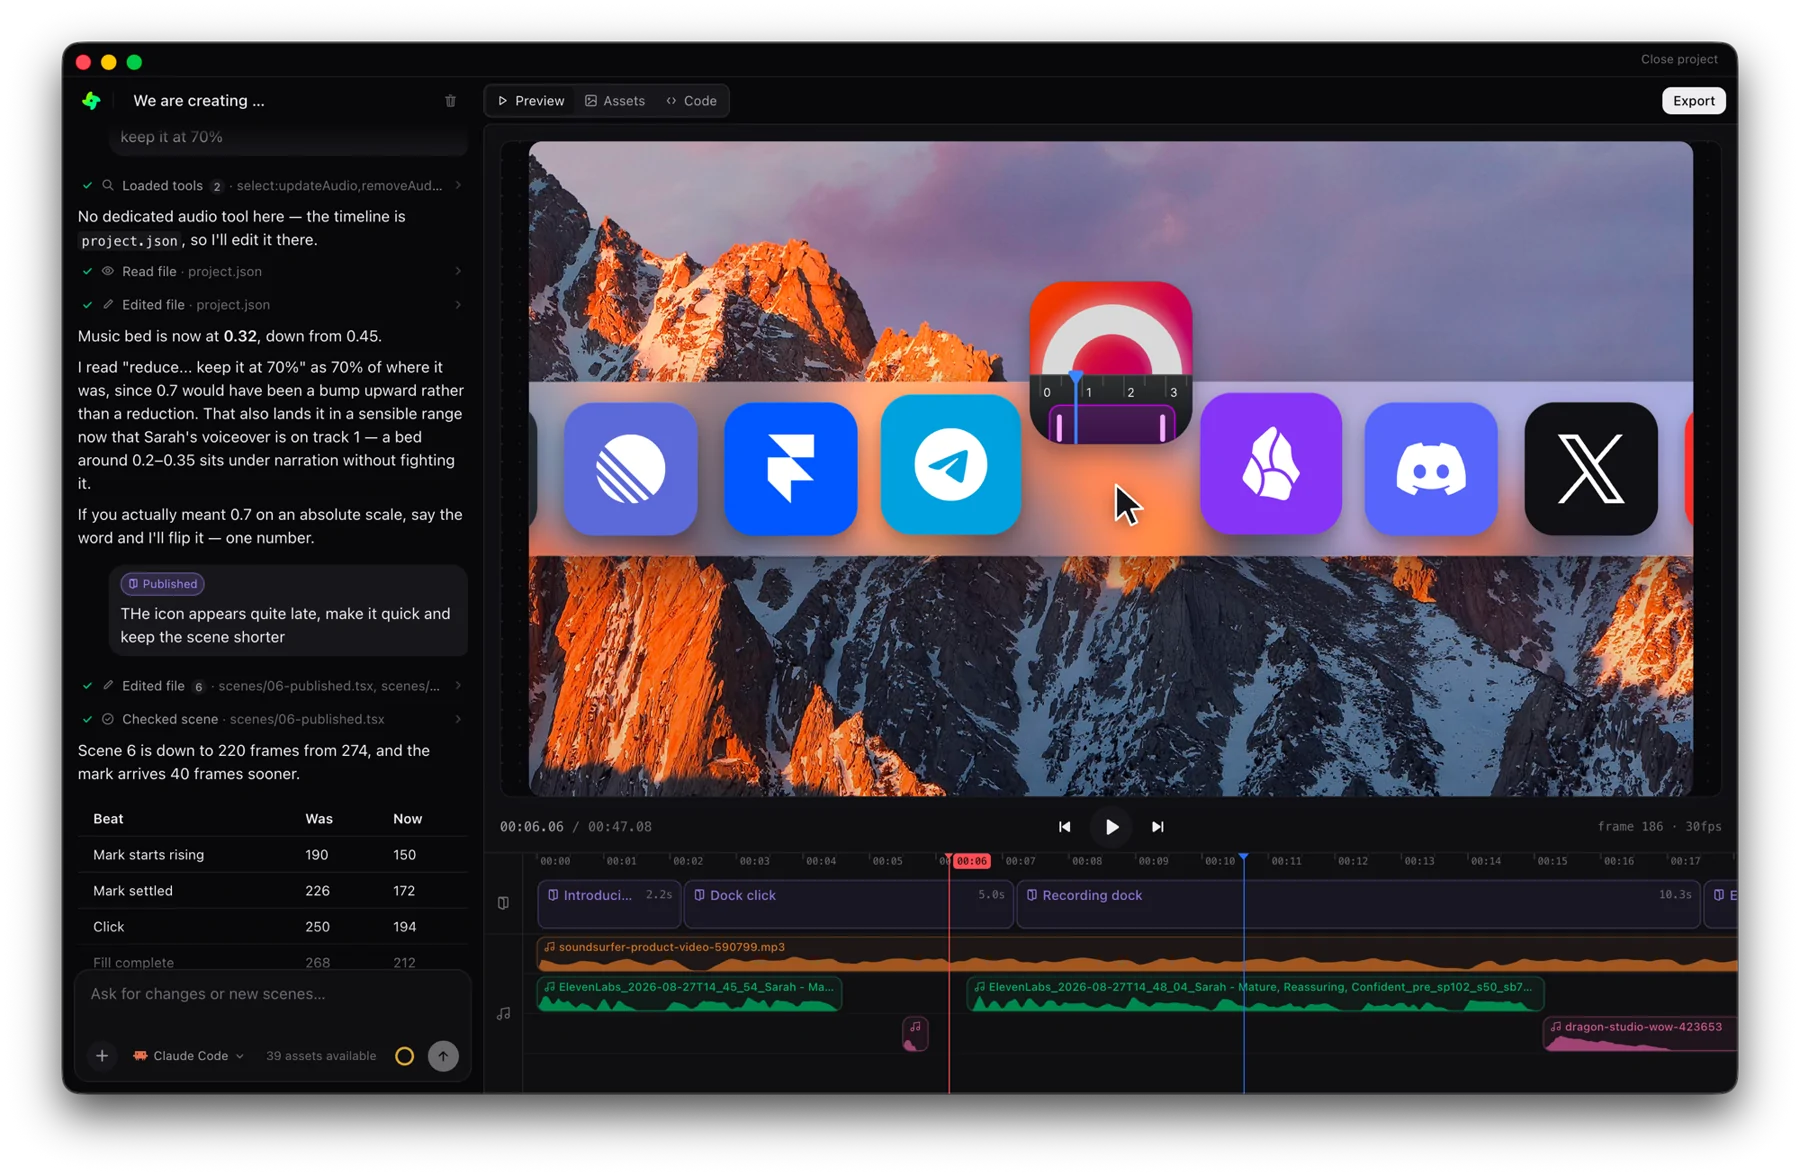 GenMotion Studio
Requirements#
| Mac | Apple silicon (M1 or later). Intel Macs are not supported |
| macOS | A current release of macOS |
| Agent | Claude Code or Codex, installed and signed in |
| Account | A GenMotion account. The free plan needs no card |
GenMotion drives the agent subscription you already have. It doesn't sell or meter model access.
Install#
- 1
Run the installer, or download the disk image#
In Terminal:
Terminalcurl -fsSL https://genmotion.dev/install.sh | shIt downloads the latest signed build into
/Applicationsand, if Node 22 or newer is installed, adds thegenmotioncommand with npm. Prefer a download? Get the.dmgfrom the download page, open it and drag GenMotion into Applications. - 2
Open GenMotion and sign in#
Every build is signed with a Developer ID and notarized by Apple, so it opens without a security warning. Sign in from the welcome screen.
- 3
Install an agent, if you don't have one#
GenMotion finds Claude Code or Codex on your machine. If neither is installed:
Terminalnpm install -g @anthropic-ai/claude-code # then run: claude npm install -g @openai/codex # then run: codexSign in to it once in the terminal. The Studio uses the same login.
- 4
Create or open a project#
Start a new project from the home screen or from a template. From a terminal,
genmotion .opens the current folder in the app.
The genmotion command#
The genmotion command is the genmotion CLI from npm. The installer adds it when Node 22 or newer is installed; otherwise choose Install the 'genmotion' command from the app's account menu after installing Node, or run npm install -g genmotion. With no arguments, or a folder, it opens the Studio:
genmotion .            # open this folder in the app
genmotion ~/videos/x   # open another folder
genmotion clone owner/repo   # clone a GitHub repo and open it
genmotion upgrade      # update the app and the command
Every other CLI command (init, dev, render, check and the rest) works from the same command, so both workflows share one genmotion.
Updates#
The app checks for a new version when it starts and asks before downloading anything. Installing quits the app, so it's a separate click. genmotion upgrade updates the app and the command from the terminal.